
How to Check the Fluids in a Car
Maintaining your car is crucial to protect your investment and avoid potential issues. Regularly checking the various fluids in your vehicle is essential to prevent breakdowns, mechanical damage, and even accidents that could have been prevented. Fortunately, it is relatively easy to learn how to monitor your car’s fluid levels, and it doesn’t take much time once you know what to look for.
PART 1: Handling the Task Safely and Responsibly
#1: Establish a routine of checking your vehicle’s fluids approximately every 4-6 months. Your owner’s manual will provide guidance on when to inspect the fluid levels of each major component under the hood. However, this recommended timeframe is usually the minimum frequency required to maintain your warranty. It is better to check your fluids at least twice a year or every 5,000-10,000 miles, whichever comes first.
- If you tend to forget, consider marking your calendar or setting a reminder on your device.
- Your car’s fluids are vital for its proper functioning. Regular inspections will ensure that your vehicle has everything it needs to run smoothly and efficiently.
#2: Park your car on a flat and level surface, and engage the parking brake. Pull the brake handle up as far as it will go to ensure that the braking mechanism is fully engaged. This will prevent your vehicle from rolling or shifting unexpectedly while you’re inspecting the fluids under the hood.
- If your car has a button-style parking brake, simply push it in all the way to engage it.
- The safest place to check your car’s fluids is inside a garage or in a relatively quiet parking lot.
#3: Open the hood of your car to access the fluid reservoirs. Look for a small hand lever in the console area that controls the hood’s locking mechanism. This lever is typically located along the bottom part of the left-hand side of the dashboard and is labeled with the symbol of a car with its hood raised for easy identification. Pull the lever towards you, and you will hear an audible click as the hood releases.
- In some car models, you may need to press a separate latch on the underside of the hood itself to fully open it.
- Use the thin metal rod located on one side of the engine compartment to prop up the hood while you work.
PART 2: Assessing Your Fluid Levels
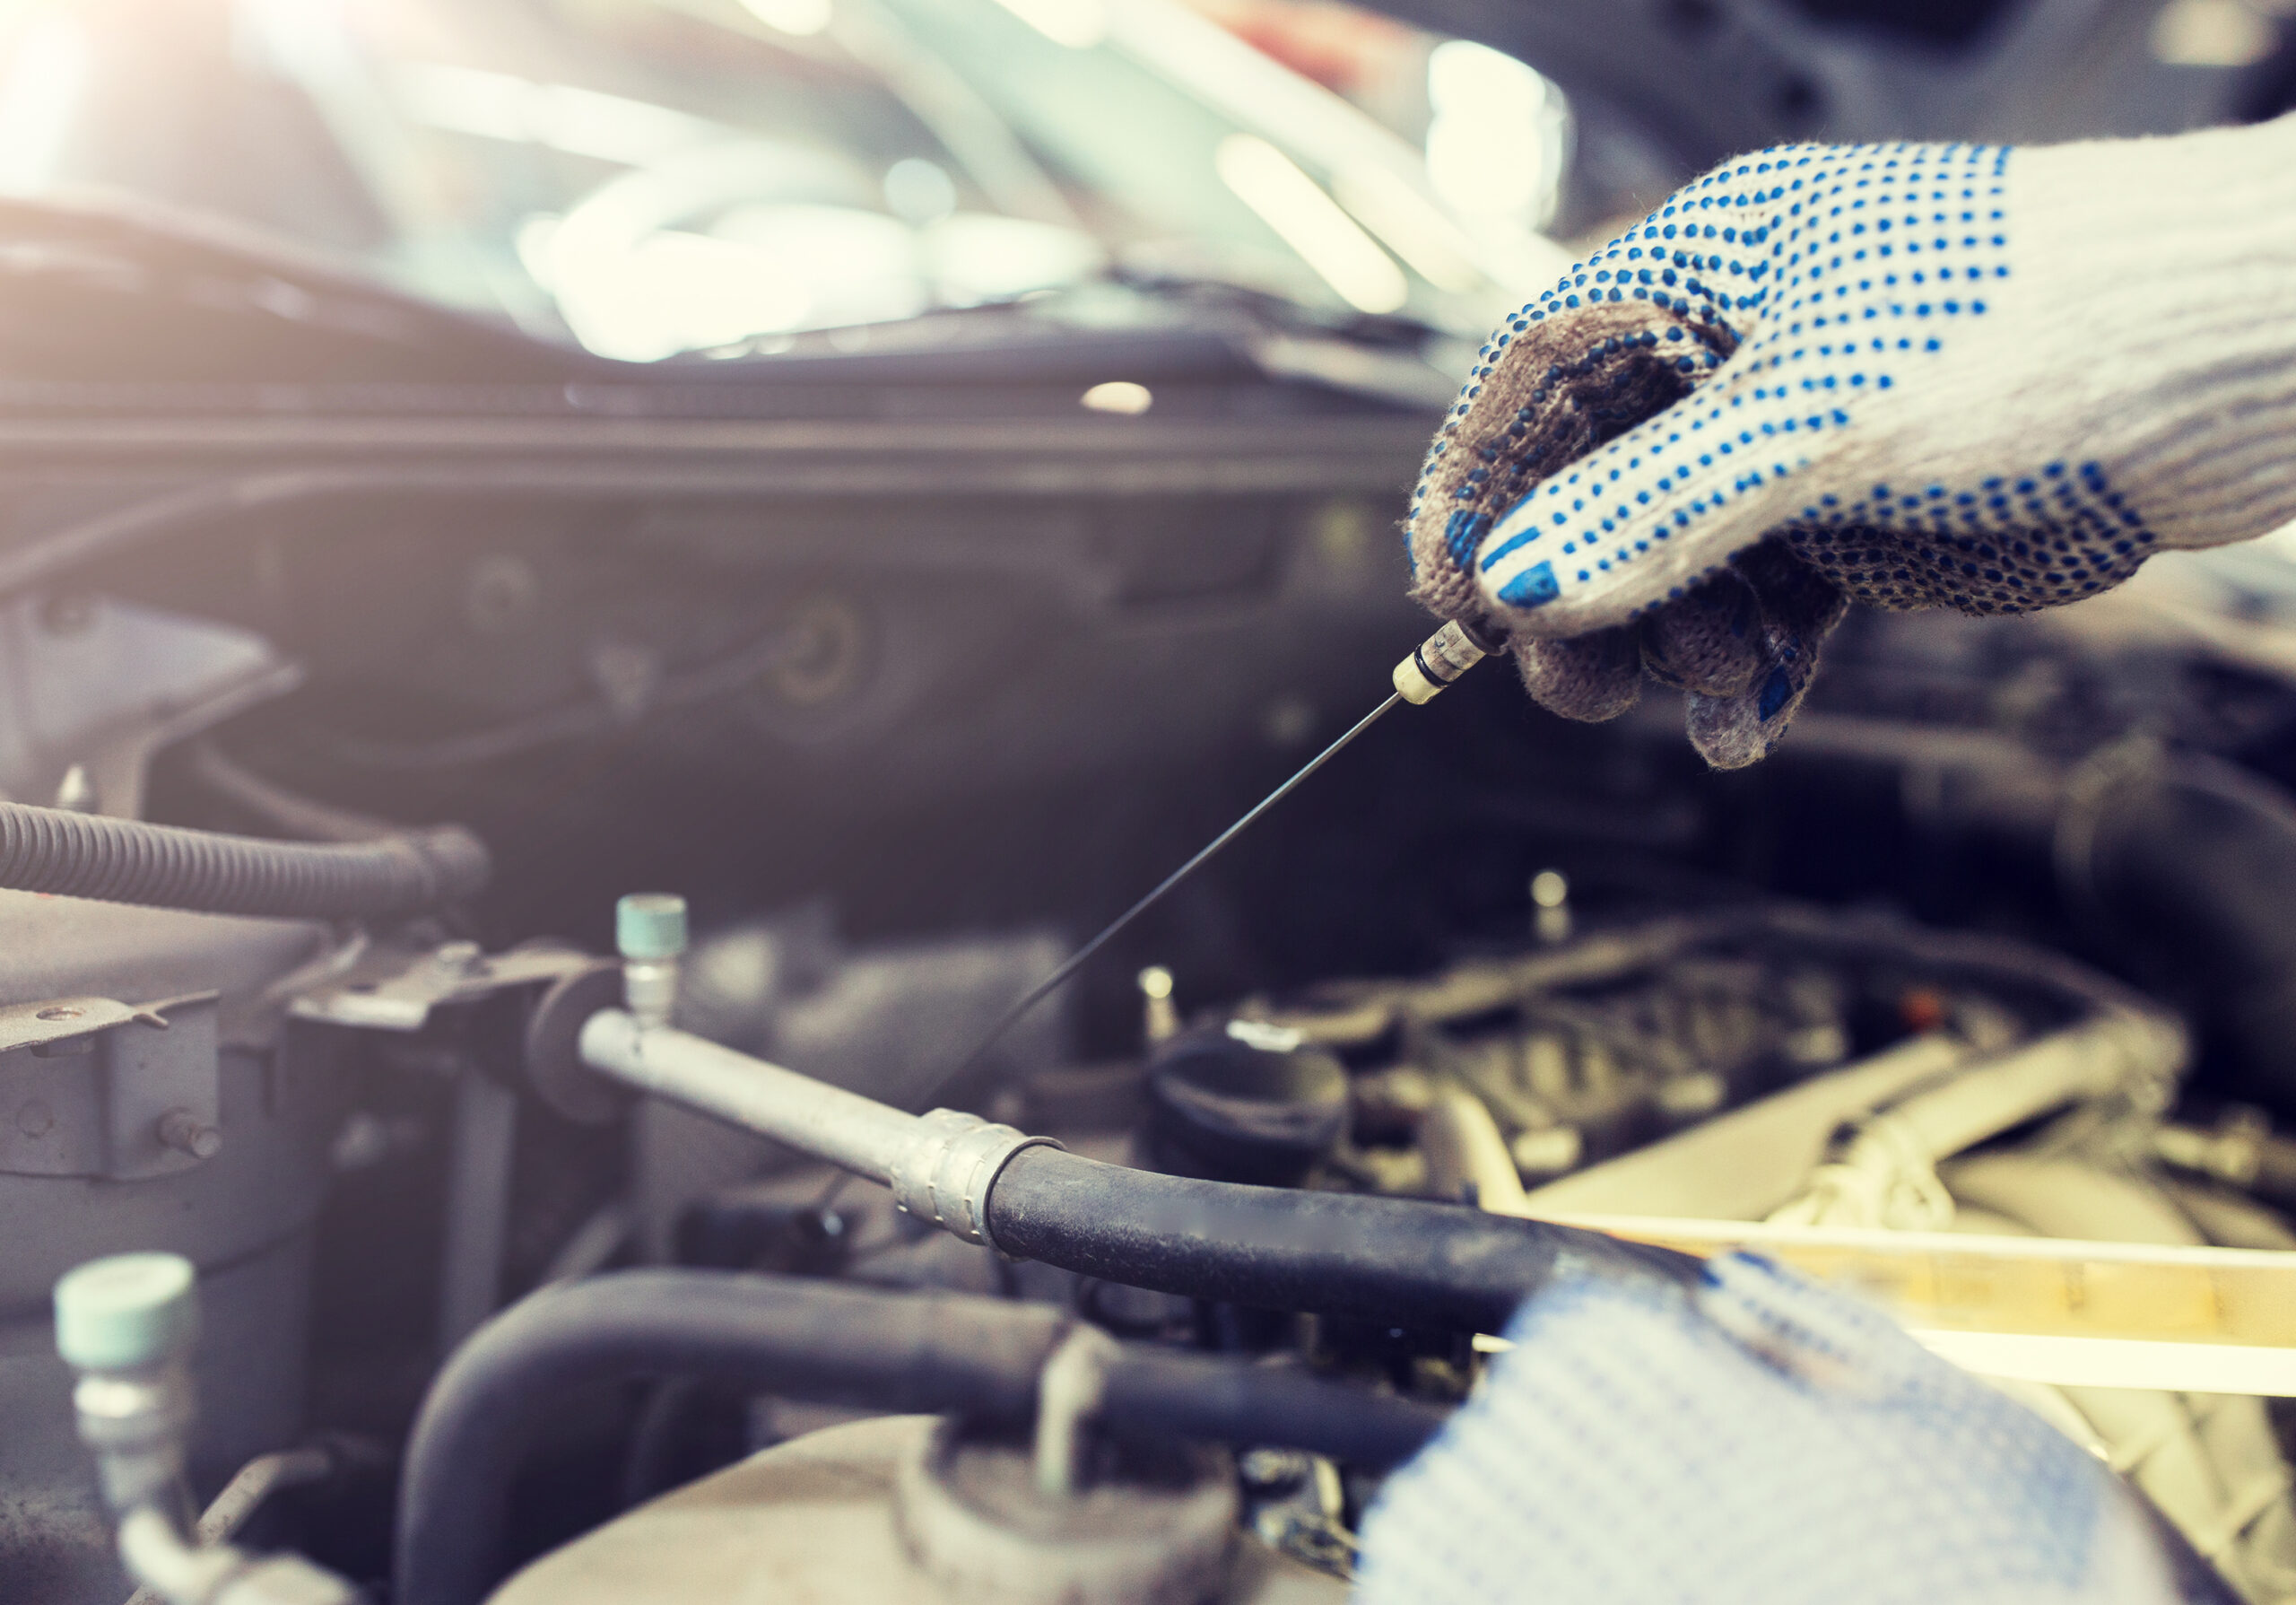
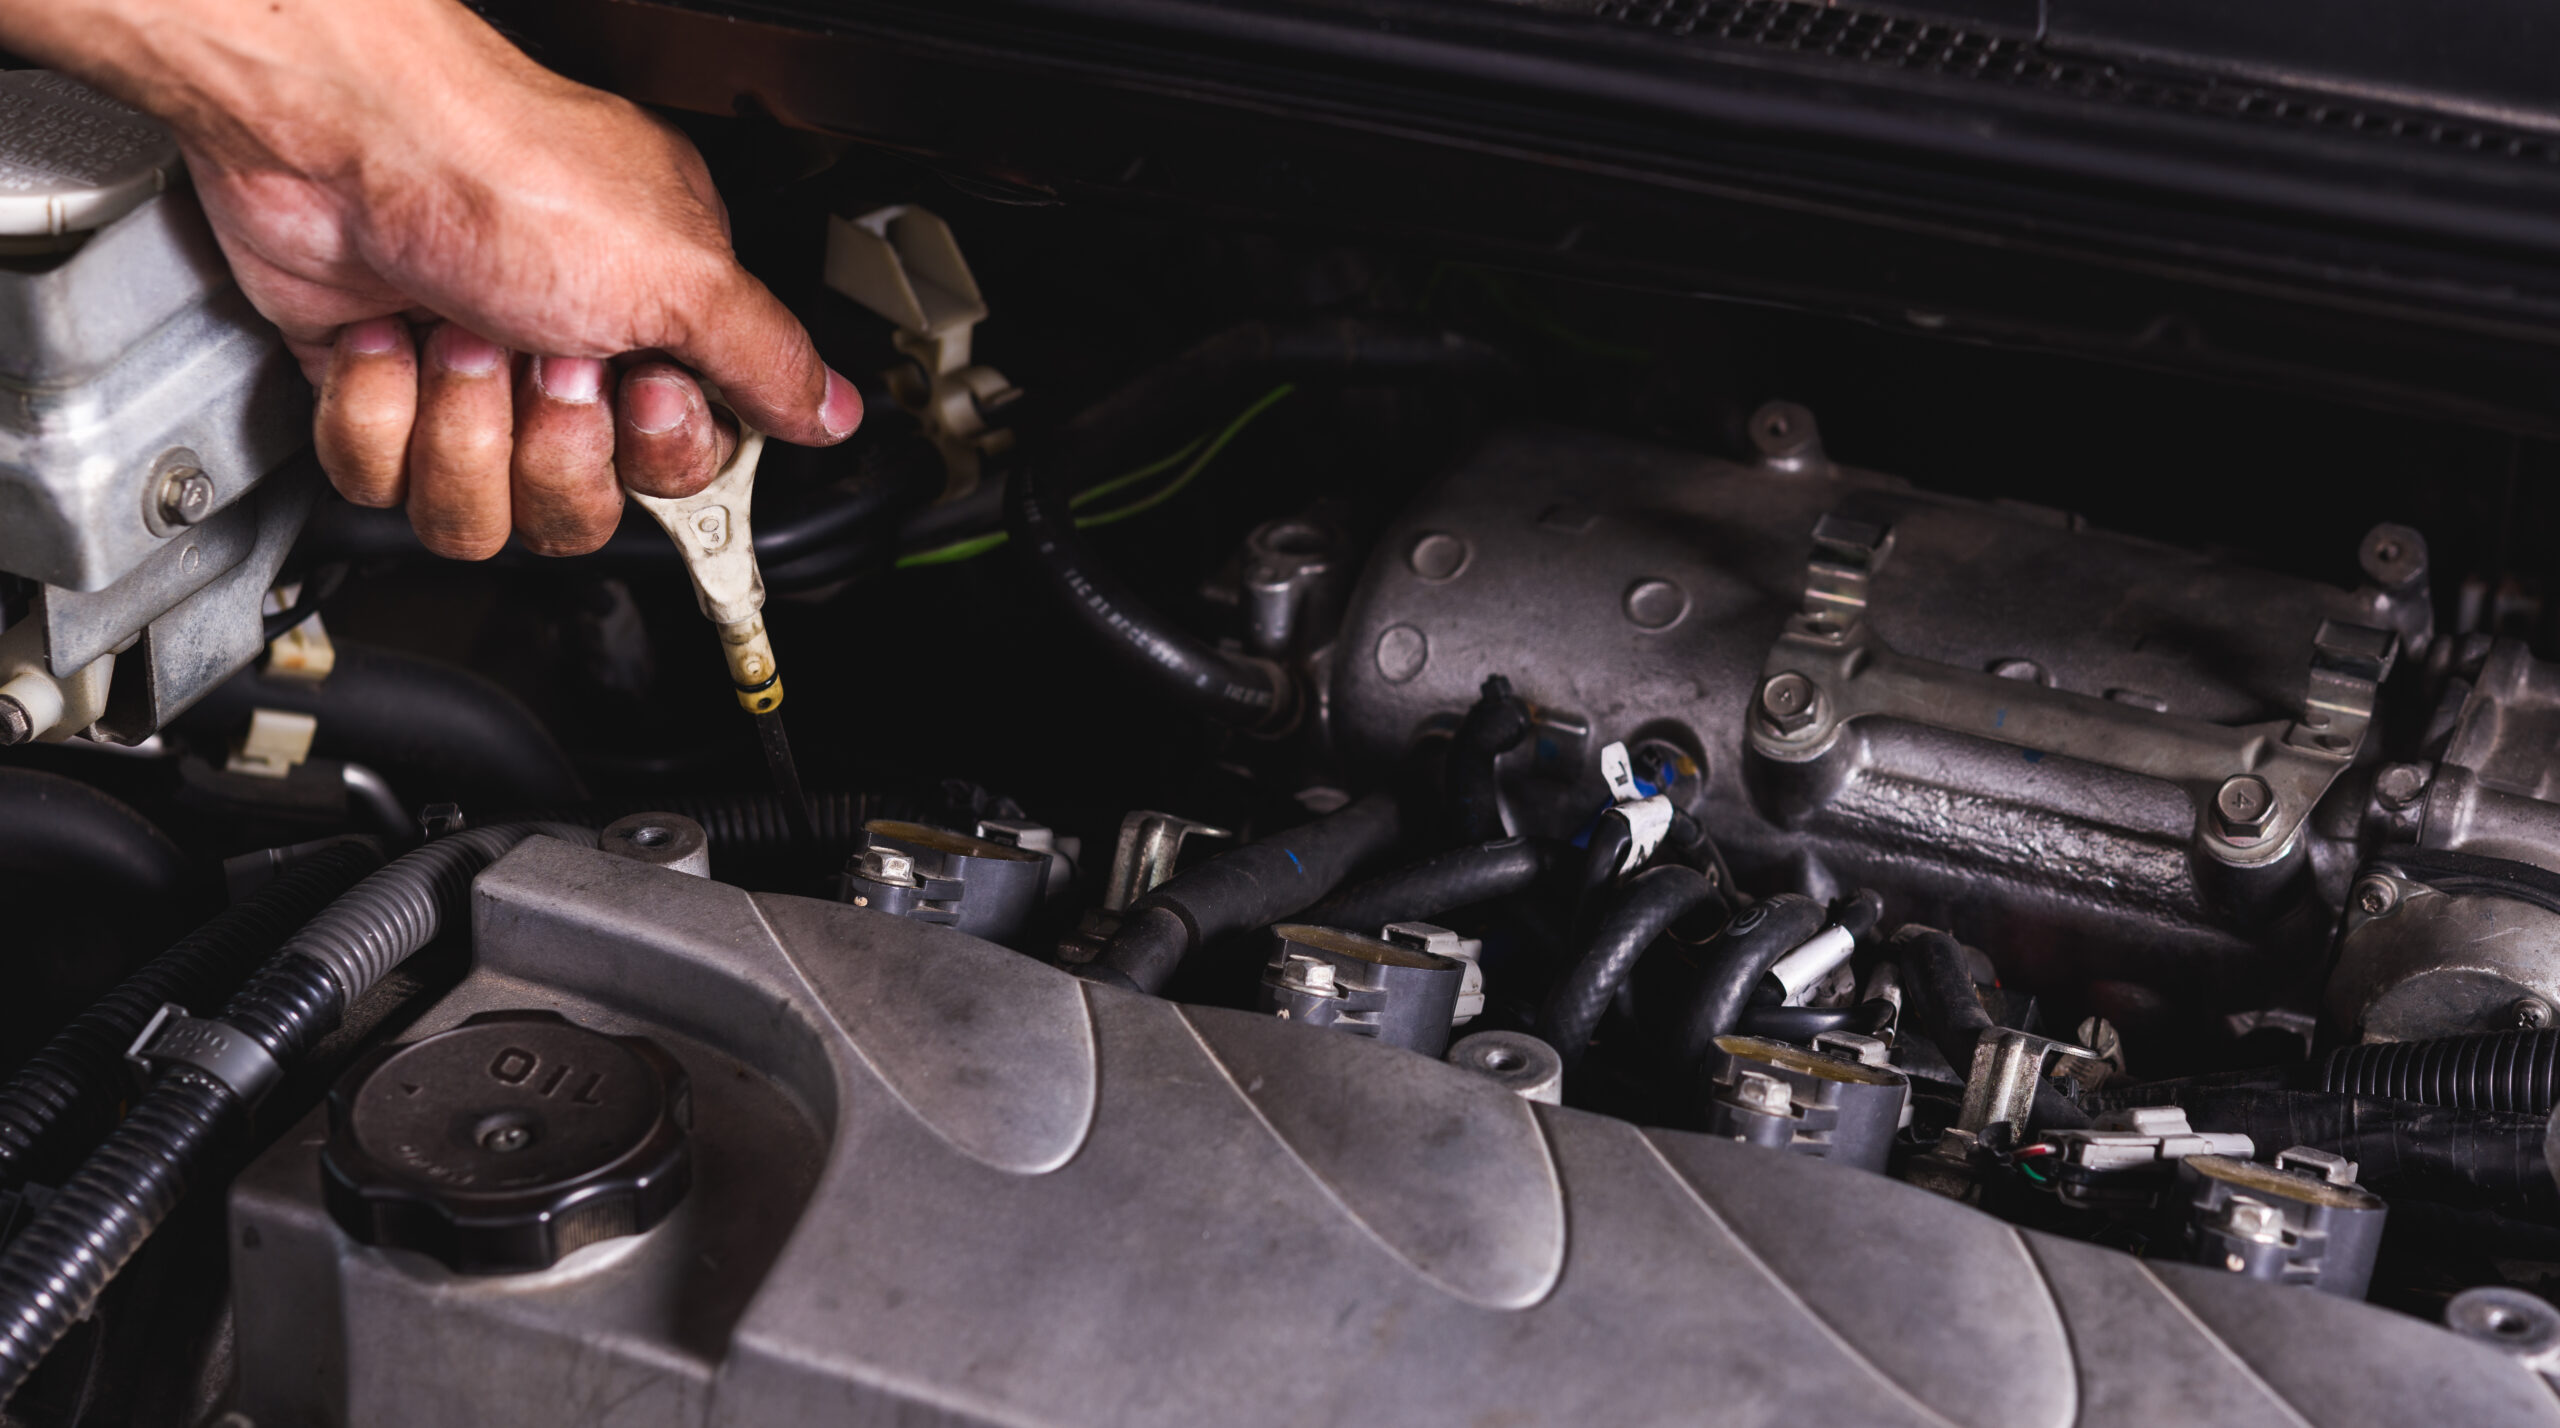
#1: Begin by checking your engine oil. Locate the yellow or white oil dipstick protruding from the top of the engine and hook your finger through the loop. Pull the dipstick out completely, ensuring that you release any clips holding it in place. Wipe the dipstick clean with a paper towel or rag, then re-insert it into its opening and push it in as far as it will go. Pull it out again and observe the oil level. Finally, secure the dipstick back in its opening.

- Always check the oil after the car has had about an hour to cool down. This allows the oil in various components to drain, preventing false readings.
- The dipstick has markings indicating the acceptable range of oil levels, usually notched, dimpled, or scribed. Double-check the markings against the diagrams in your owner’s manual. If the oil level is too low, add the appropriate motor oil immediately.
- Pay attention to the color of the oil. Clean engine oil is translucent and golden, while dirty oil is typically black or dark brown. If your oil appears dirty, check your car’s maintenance records to see when it was last changed. A slightly darkened oil can still function properly, so it’s best to follow the recommended schedule rather than relying solely on color.
- Schedule oil changes based on time, not just mileage. Even if you haven’t driven the specified number of miles, it is advisable to change the oil approximately every six months or more frequently if you do a lot of driving. Oil can degrade and become less effective even if the car is not in use.
- If you notice repeated and significant loss of engine oil, it could be a sign of a leak. Keep an eye on the ground where you normally park for any oil stains. If you observe any, take your car to a shop for inspection.
- Milky or foamy oil may indicate contamination with coolant, which could be a sign of a blown head gasket or another serious issue.
#2: Check the transmission fluid. It is best to do this while the engine is running and fully warmed up, in either neutral or park depending on the make and model of your car. The transmission dipstick is usually red and located second among the two dipsticks on the engine. Similar to checking the oil dipstick, pulling it out, wiping it off, pushing it all the way back in, then pulling it out again to check the level. Look for the fluid to fall between the two notches or marks on the dipstick.
- Healthy transmission fluid has a glossy reddish hue. If it appears brown, black or has a burnt odor, it is likely time to replace it.
- The transmission fluid doesn’t need to be changed as frequently as the engine oil. In newer cars, the recommended service interval can be as high as 100,000 miles. Refer to your owner’s manual for specific guidelines for your car model.
- Transmission fluid lubricates the transmission or the gear system of your car.
#3: Inspect the brake fluid levels. Look for a plastic reservoir labeled “brake fluid” in the engine compartment or refer to your owner’s manual for its location. Most reservoirs allow you to read the fluid level through the plastic. If needed, wipe any dirt or debris off the outside of the tank. If you’re unable to get a clear view, remove the cap and visually check the fluid level.
- If the brake fluid reservoir is difficult to see through, gently rock the vehicle on its suspension to create a visible movement of the fluid.
- Brake fluid should not be consumed by the car, regardless of its age or mileage. If the brake fluid appears low, have your car inspected to identify the cause, such as a brake line leak or worn brake surface, which could lead to brake failure?
#4: Evaluate the power steering fluid. The power steering fluid is typically contained in a plastic reservoir located near the belts on the passenger side of the vehicle. Read the fluid level through the reservoir walls in the same manner as the brake fluid. Some reservoirs may have two pairs of lines, one for a hot engine and one for a cold engine. Check the appropriate lines based on your car’s current state.
- If you need to add power steering fluid, remove the reservoir lid and pour the appropriate product up to the indicated fill line.
- Note that many modern cars are equipped with electronic power steering, eliminating the need for a fluid reservoir.
#5: Check the coolant levels. The coolant reservoir is located at the front of the engine compartment near the radiator. You can read the coolant level directly through the plastic tank. Ideally, the coolant should be clear and match its original color. If it appears colorless, contains small particles, or seems sludgy or gritty, it is likely contaminated and should be replaced as soon as possible.
- Always allow the engine to cool down completely before checking the coolant levels. Opening the reservoir while it’s under pressure can result in scalding-hot water spraying out.
- Cars require antifreeze as coolant, not water. Antifreeze has a lower freezing point and a higher boiling point than water. Ensure you use the appropriate coolant when topping up.
- Read the label on the coolant product carefully to determine if it can be added at full strength or needs to be mixed with water.
- Sometimes, the coolant may be present in the reservoir but not in the radiator. If your reservoir is full but your car is running hot, check the radiator hose to ensure there is sufficient fluid in the radiator.
#6: Top up the windshield wiper fluid if necessary. While low wiper fluid levels don’t affect your car’s performance, they can impact visibility, safety, and overall driving experience. Locate the brightly-colored container with the image of a windshield near the rear of the engine compartment. Lift the cap to check the fluid level and fill the container to the top if needed. Press the cap back into place.
- Specialty wiper fluids designed to remove bugs and road grime are affordable, so it’s recommended to use a quality product. In a pinch, you can add a small amount of water or window cleaner to the reservoir.
- If you live in a cold climate, choose a wiper fluid that won’t freeze in low temperatures. Such fluids will be clearly labeled.
#7: Ensure proper tire pressure. Maintaining the correct tire pressure is essential for safety and optimal performance. Refer to your vehicle’s manual or the tire placard located on the driver’s door jamb or inside the fuel door for the recommended tire pressure. Use a tire pressure gauge to check the pressure in each tire and adjust as necessary.
- Proper tire inflation improves fuel efficiency, tire life, and handling.
- Regularly inspect the tires for any signs of damage or excessive wear, such as uneven tread wear or bulges.
By following these steps and regularly checking your car’s fluid levels, you can ensure that your vehicle runs smoothly, prolong its lifespan, and minimize the risk of unexpected issues while on the road.
Describe Your Needs In Detail!
We will carefully evaluate your needs and give professional solutions.

